Usually in the first workshop sessions, we are asked to produce a box that is set by specific measurements with certain material requirements to be fixed together. However, over recent years, tutors found this was unexiting for students and decided to leave us to our own imagination, to create a small unfunctional sculpture using a wide rage of materials such as wood, ( ply, hard wood, and MDF) Metal, ( allimunium, Steel sheet metal ) Plastic ( 1.5mm plastic for Vac form and 3mm sheet acrylic for line bending) and binding components such as bolts, screws, nails, glue and a pop riveter.
Plastics
Plastic is probably one of the more maulable and easier materials to work with, it can be melted, moulded, cut, filed and buffed to get pretty much any form you desire. We used acrylic plastic to cut file and form to create an unique component for our construction.
Cutting
We firstly cut the pieces of plastic using a band saw, I cut my piece into three, one longer and two shorter pieces. The edges of the plastic were no longer a smooth shiny surface, so to improve the overall quality of the finished model, we begun a filing and biffing process, using a hand file tool to take off the rough edge, then onto some high and low grain sandpaper before moving on to the buffing machine. One side cotes the fabric wheel in wax and the other wheel removes the wax revealing a almost brand new shiny surface.
Strip Heater
Placing the plastic on the strip heater for around 1,20 seconds is pretty much the perfect timing to heat the plastic to its formable state. If the plastic can bend easily without much force then it is ready, over heating will melt and distort the plastic so it is best to not leave this unattended.
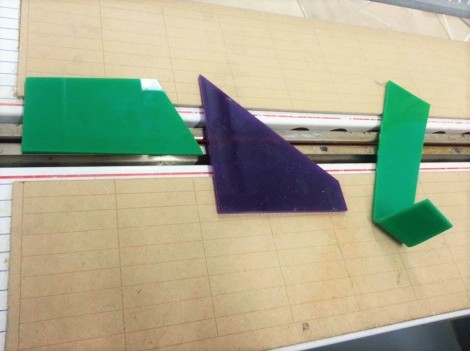
Here i am strip heating elements of my plastic with intentions to bend them into interesting shapes. I left them on for the optimume and ensured I didn’t start to burn them.
Metal
cutting
Metal can be cut in a variety of ways, today we were using treadle guillotine. This machine is heavy duty and great care must be taken to not injure yourself while operating it, as it requres your entire body weight to cut the metal. I also used some rounded hand cutters to soften the edges to one of my pieces.
Filing
Using the metal sanding machine I filed around my previously cut pieces to take off the sharp edges and burr’s soften the shape I had cut. At this point I left the protective layer on the metal, as it scratches very easily in a workshop environment.
Grit Blaster
This was of stripping metal enables you to get texture on your sheet. to protect the sections you want to remain shiny, it is important to firmly stick down some masking tape, which will keep the surface protected. When using the machine, it is extremely important to wear the protective rubber gloves as the sand that fires from the nossel would literally strip our naked fingers if it had the chance. This machine fires a sand like substance at high speed to literally erode away at the metal surface, leaving a grainy and rough texture behind.
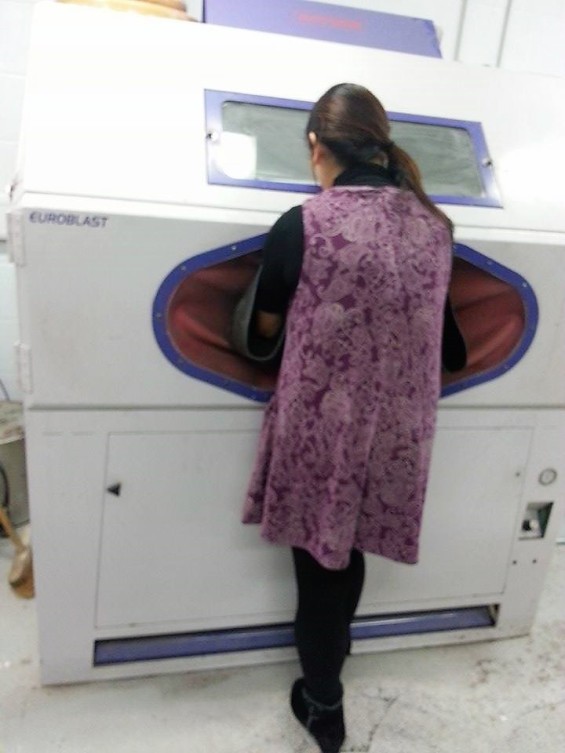
Here you an see a student demonstrating the correct way to enter the machine, with protective gloves in the specific arm holes.

The after result of the high speed blast.
WOOD
Drilling
Using a forstner bit on a drilling machine I was able to create half deep surface holes in a strip of ply wood, this worked well as ply wood is created by lots of layers of ply wood glue together, this made it easy to drill the holes to the same length of 4 slices deep and also we were able to get an interesting quality inside the holes.


When it came to application the different materials together we used drills, screws, bolts and tools to pilot holes with. For most of the wood and plastic joining elements we used a hand drill and a 3mm drill bit so that the screw would fit snugly inside. If this hole was too big it would let the screw drop out and leaving us with a weak structure. We also used PVA to solidify wood elements together.
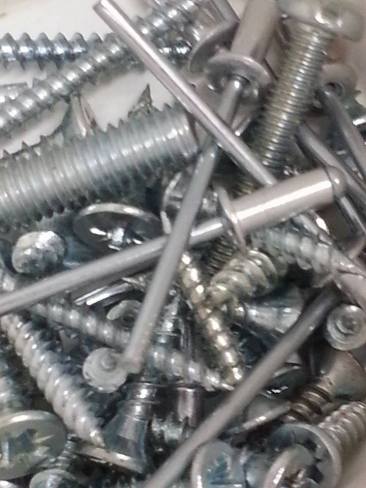
To bond together metal sheets together, we first drilled a 3mm hole for the pop rivet to sit in. Ensuring the thick end goes into the metal holes, and the thin shaft in to the rivet, you usually have to squeeze the rivet a few times, once to squish the end, and another time to cut off the end. This leaves a nice tight hole that can be drilled through to remove. One of the major attachments we added was a bolt, this attached the two main structures together, we used a bolt because it could withstand the most strain and keep everything soundly in place.

Vac Forming
We used red 1.5mm plastic for the vac forming machine. Following the health and safety instructions given we placed the mesh snugly over the machine ensuring it was capable of becoming air tight, then we added our wooden mold of half a sphere and heated the plastic until it inherited our fingerprint for a while when we touched it. After the form had been created we filled down the excess edges and attached with a pop rivet to the other plastic pieces.
I am really pleased with our final product. The connection between the organic and structured form creates nice spaces between each fragment, equally balancing and relating to one another I feel we have achieved an aesthetically pleasing model that is both structurally sound and can be inspired into a functional space.


